
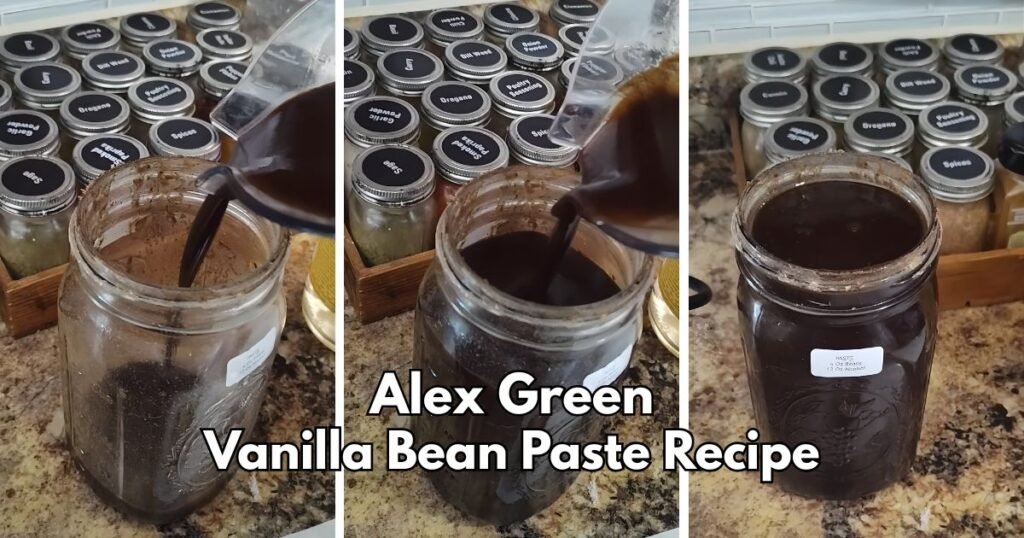
I love learning about cooks who keep things simple and real. Alex Green is one of those people. He is known for sharing clear recipes that many home bakers trust. His vanilla paste recipe became popular because it uses real beans and easy steps.
The Alex Green Vanilla Bean Paste Recipe is a rich, homemade option that feels high-end without the store price.
Vanilla bean paste is thick and dark, with tiny bean bits you can see. Many bakers like it more than vanilla extract because it gives stronger flavor and a pretty look in baked goods. I use it when I want deep vanilla taste and visible specks.
This recipe lets me control the flavor and texture, and I know what goes into every spoon.

Why This Alex Green Vanilla Bean Paste Recipe Works
1. It’s simple. You put everything in a blender. That’s it. You don’t need special skills. This makes it easy for anyone to try.
2. It uses whole beans. You get the true, deep taste of real vanilla. The tiny bean pieces in the paste give your baked goods those pretty little dots.
3. It saves money. A small bottle of store-bought vanilla bean paste costs a lot. Making a big batch at home like this is much kinder to your wallet.
4. It keeps well. The vodka or rum in the recipe acts as a natural preservative. This means your paste stays good in the cupboard for a very long time.
Vanilla Bean Paste vs. Vanilla Extract: Understanding the Difference
Vanilla bean paste and vanilla extract are not the same thing. Extract is a liquid. It has alcohol and vanilla flavor but no seeds. Paste is thicker and includes tiny black seeds from inside the vanilla pod. When you use paste, you see those beautiful specks in your food. Extract is clear or brown and leaves no specks.
Paste works best in light-colored desserts like vanilla ice cream, sugar cookies, or white cake. You can see the seeds, and that looks pretty. Extract works better in chocolate desserts or when you just want vanilla flavor without seeing it.
Paste is stronger than extract, so you can use less. One spoon of paste equals one and a half spoons of extract. This Alex Green Vanilla Bean Paste Recipe gives you both the flavor and the look that bakers love.
Alex Green Vanilla Bean Paste Ingredients
1. Fresh Vanilla Beans – 4 oz (114g)
These are the main ingredient in this recipe. Look for plump, oily beans that feel soft. Madagascar beans are mild and sweet. Tahitian beans are floral and fruity. Mexican beans are bold and spicy. You can use any type you like. Dried or hard beans also work, but they may not blend as smoothly.
2. Water – 6 oz (170g)
Use clean, filtered water for the best taste. Tap water works too, but filtered water keeps the flavor pure. The water helps thin the paste so it blends easily.
3. Granulated Sugar – 16 oz (454g)
Regular white sugar is perfect here. It sweetens the paste and helps create thickness. Brown sugar or coconut sugar also works, but they will change the color and flavor slightly.
4. Vodka or Light Rum – 12 oz (340g, 80 proof)
Alcohol preserves the paste and pulls out the vanilla flavor. Vodka has no taste, so it won’t change the vanilla. Light rum adds a hint of sweetness. Use 80 proof for the best results. Brandy also works well.
5. Light Corn Syrup – 2 oz (57g)
This adds shine and keeps the paste smooth. Honey or maple syrup also works, but they add their own flavor. Corn syrup is neutral and blends in easily.
6. Xanthan Gum – ½ tsp (1.5g, optional)
This is optional. It makes the paste thicker and more gel-like. You can skip it without any problem. Cornstarch also works, but it may make the paste cloudy.
Tools I Recommend for This Recipe
- High-speed blender – breaks down beans smoothly
- Digital scale – measures ingredients accurately
- Measuring cup – checks liquid amounts
- Glass jar – stores paste safely
- Rubber spatula – scrapes every bit out
Step-by-Step Instructions to Make Alex Green Vanilla Bean Paste
1. Add Everything to the Blender: Place the blender jar on a digital scale and reset it to zero. Add the fresh vanilla beans, water, sugar, vodka or light rum, and light corn syrup. Add the xanthan gum last. Make sure all ingredients are inside the jar before blending.
2. Blend Until Smooth: Blend on high speed for about 2 minutes. The mixture will look thin at first, and that is normal. The vanilla beans should break down into very small pieces, almost like tiny dots. A heat or soup setting helps soften the beans more.
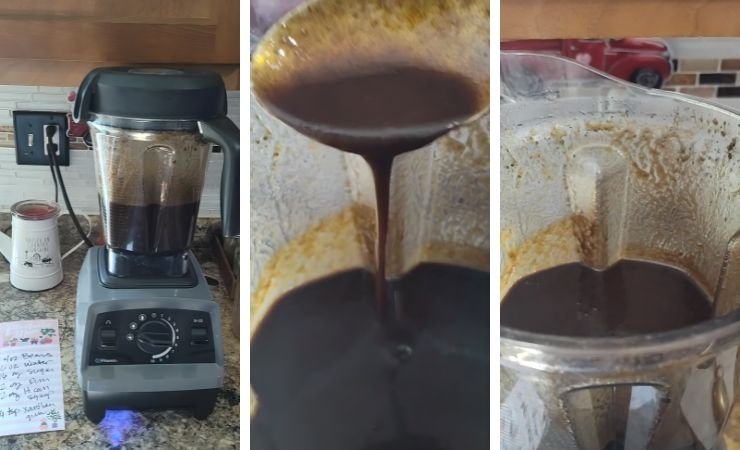
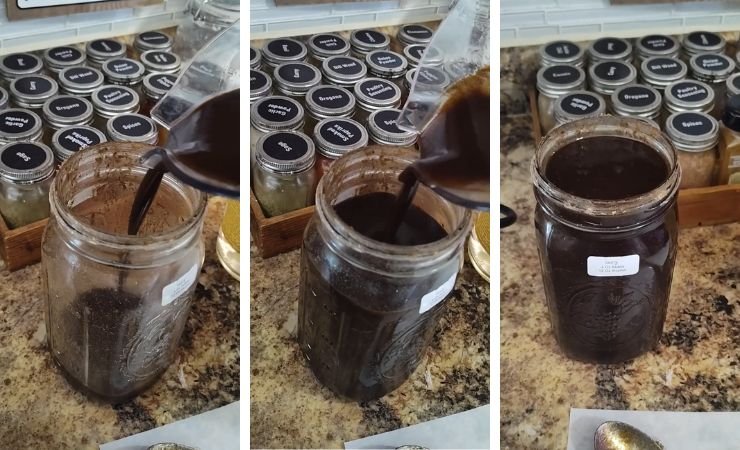
3. Pour and Rest: Pour the blended mixture into clean glass jars. Scrape the blender sides so nothing is wasted. Close the lid tightly. Let the paste sit for at least one week to thicken and develop a deeper vanilla flavor.
Tips, Tricks, and Common Mistakes to Avoid
Use Fresh Vanilla Beans for Best Results
Always choose beans that are soft and moist. Hard, dried beans won’t blend well. You’ll end up with chunks in your paste. Fresh beans give you smooth, rich flavor.
Don’t Skip the Resting Time
I know it’s tempting to use the paste right away. But waiting one week makes a huge difference. The paste gets thicker and the flavor becomes deeper. Be patient. It’s worth it.
Store in Glass Jars Only
Never use plastic containers. Plastic can absorb the vanilla smell and flavor. Glass keeps everything fresh and clean. Make sure your jars have tight lids.
Shake the Jar Before Each Use
The vanilla seeds can settle at the bottom. Give the jar a good shake before you scoop out paste. This mixes everything evenly.
Add More Xanthan Gum for Extra Thickness
Some people want a thicker paste. You can add up to one teaspoon of xanthan gum. Start with a little and blend again after one week. This gives you more control over the texture.
Vanilla Bean Paste Variations and Customizations
You can easily change this recipe to match your taste. Here are some ideas I’ve tried and loved.
- Bourbon Vanilla Paste – Swap vodka with bourbon. This adds a warm, oaky flavor. It’s perfect for desserts like bread pudding or pecan pie.
- Coffee Vanilla Paste – Add one tablespoon of instant coffee to the blender. The coffee deepens the vanilla flavor. Use it in chocolate cakes or brownies.
- Maple Vanilla Paste – Replace corn syrup with pure maple syrup. This gives a light maple taste. Try it in pancakes or waffles.
- Almond Vanilla Paste – Add half a teaspoon of almond extract. This creates a sweet, nutty flavor. Use it in sugar cookies or macarons.
- Honey Vanilla Paste – Use honey instead of corn syrup. Honey adds floral notes. It works well in tea cakes or scones.
How to Use Vanilla Bean Paste in Baking and Cooking
This paste works in so many recipes. Use it anywhere you would use vanilla extract.
1. Cakes and Cupcakes: Add one tablespoon of paste to your batter. The black specks look beautiful in vanilla or white cakes. You get both flavor and visual appeal.
2. Ice Cream: Stir two tablespoons into your ice cream base before churning. The seeds create that classic vanilla bean ice cream look. The flavor is pure and clean.
3. Cookies: Use one teaspoon per batch of cookies. Sugar cookies, shortbread, and snickerdoodles all taste better. The seeds show through and look professional.
4. Custards and Puddings: Mix one tablespoon into your custard base. The paste thickens slightly and adds rich vanilla flavor. Your pudding looks fancy with those specks.
5. Frosting and Glazes: Beat one or two teaspoons into buttercream or cream cheese frosting. The vanilla shines through. Your frosting has visible proof of real vanilla.
6. Hot Drinks: Stir a small spoonful into hot chocolate, coffee, or warm milk. The paste dissolves easily and adds comfort and warmth to your drinks.
Storage Tips
How to Store: Keep your vanilla bean paste in a glass jar with a tight lid. Store it in a cool, dark place like a cupboard or pantry. The alcohol in the paste preserves it, so it stays fresh for a long time. You don’t need to refrigerate it.
The paste can last up to two years when stored properly. Always use a clean spoon when you scoop out paste. This prevents bacteria from getting inside. Close the lid tightly after each use.
Make Ahead Tips: You can make a big batch of this paste and store it in several jars. Give them as gifts to friends who love baking. The paste needs at least one week to thicken, so plan ahead.
Make it before you need it. Once it’s ready, you can use it anytime. The flavor actually gets better over time.

Alex Green Vanilla Bean Paste Recipe
Make Alex Green Vanilla Bean Paste with 4oz vanilla beans in just 12 minutes prep. Makes 2 cups, lasts 2 years, perfect for cakes & ice cream!
Ingredients
- Fresh vanilla beans – 4 oz (114 g)
- Water – 6 oz (170 g)
- Granulated sugar – 16 oz (454 g)
- Vodka or light rum (80 proof) – 12 oz (340 g)
- Light corn syrup – 2 oz (57 g)
- Xanthan gum – ½ teaspoon (optional)
Instructions
- Prepare the Ingredients: Place the vanilla beans, water, sugar, vodka or light rum, corn syrup, and xanthan gum (if using) into a high-speed blender. Make sure all ingredients are fully inside the blender jar before starting.
- Blend Until Smooth: Blend on high speed for about 2 minutes until the vanilla beans are completely broken down into fine specks. The mixture will look thin at first, which is normal.
- Rest and Store: Pour the mixture into clean glass jars and seal tightly. Let the vanilla bean paste rest in a cool, dark place for at least 1 week to thicken and develop full flavor. Shake well before each use.
Nutrition Information:
Yield: 2 cups vanilla bean paste Serving Size: Per 1 teaspoon servingAmount Per Serving: Calories: 48Total Fat: 0gSaturated Fat: 0gCholesterol: 0mgSodium: 1mgCarbohydrates: 12gSugar: 11gProtein: 0g
This Alex Green Vanilla Bean Paste Recipe has changed the way I bake. The rich flavor and beautiful vanilla seeds make every dessert special.
What makes this paste unique is its homemade quality and pure taste. You control what goes in, so you know it’s all natural. Try different variations to find your favorite.
Share your results with other bakers. I’d love to hear how your paste turns out.